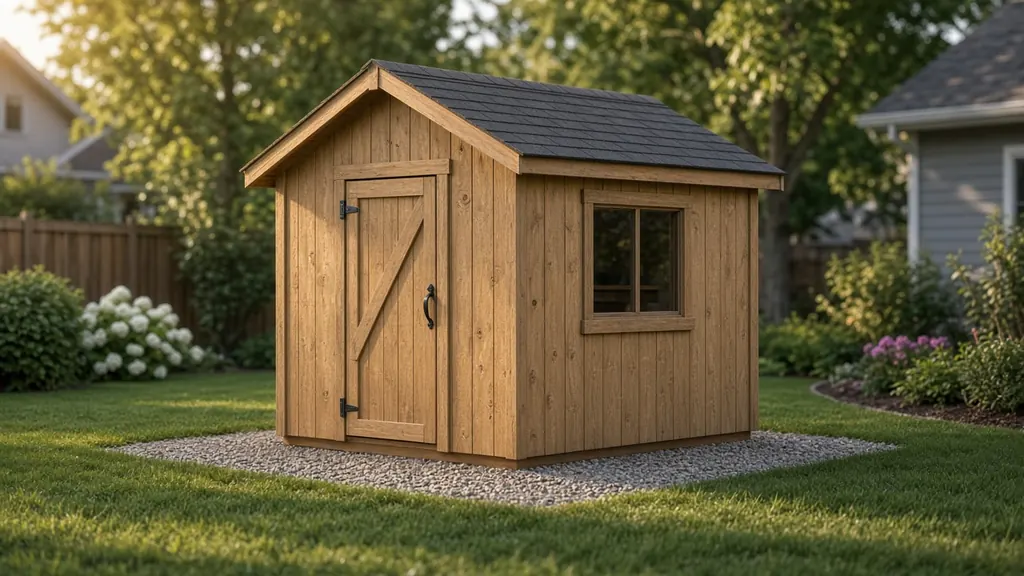
A backyard shed is the project that turns weekend woodworkers into builders. It’s also the one where planning matters most: a shed that sits on the wrong spot, on the wrong base or without a permit can cost you far more than the lumber. The good news is that a simple gable or lean-to shed uses basic framing that a careful beginner can learn.
This guide covers the decisions to make before you buy a single board. It isn’t a substitute for a complete plan or for your local building rules, but it will help you choose a good plan and spot one that’s missing something important.
Step 1: check permits, setbacks and HOA rules
Start with paperwork, not lumber. In the US, the International Residential Code (IRC), which many states and towns adopt, exempts one-story detached accessory structures with a floor area of up to 200 square feet from needing a building permit. Many towns set a lower limit, though, often 120 square feet, and a permit exemption doesn’t exempt you from zoning.
- Zoning setbacks say how close to property lines, fences and the house a shed can sit.
- Height limits often apply to accessory buildings, even small ones.
- Homeowners’ associations may control size, color, roofing and placement.
- Electrical work almost always needs a permit, even when the shed itself doesn’t.
- Utilities: call 811 in the US (or your local service elsewhere) before digging for footings or posts.
Rules in Canada, the UK and Australia differ again. A quick call to your local building department is the cheapest insurance you can buy for this project.
Step 2: choose the size and style
Decide what goes inside before you decide the size. Lay out the mower, bikes, tools or workbench on the lawn with a tape measure and add room to walk. Most people wish they had built slightly bigger, but staying under your local permit limit can save time and fees.
| Style | Good for | Difficulty |
|---|---|---|
| Lean-to (single slope) | Against a fence or wall, small tool storage | Easiest roof to frame |
| Gable (two slopes) | All-round storage, good headroom in the middle | Beginner-friendly with a good plan |
| Saltbox | A traditional look with extra rear headroom | Moderate: uneven rafters |
| Gambrel (barn) | Loft storage under a barn-style roof | Harder: angled rafter joints |
Building in multiples of 4 feet, such as 8 × 8, 8 × 10 or 8 × 12, makes the most of standard 4 × 8 ft sheets of plywood or OSB and cuts waste.
Step 3: pick the site
- Choose high, well-drained ground. Water pooling under a shed is the main cause of rot.
- Leave access space around all sides for building and later maintenance.
- Think about the door: which way you’ll carry things in, and whether it opens toward the house.
- Avoid tree roots and overhanging branches that drop debris on the roof.
Step 4: choose a foundation
Small sheds don’t usually need a concrete slab. The right base depends on size, soil, frost and local rules:
| Foundation | How it works | Best for |
|---|---|---|
| Gravel pad + skids | A level bed of compacted gravel with treated timber runners under the floor | Most small and medium sheds; drains well |
| Concrete blocks | Solid blocks set level on compacted ground or gravel under the beams | Sloping sites and quick builds |
| Piers or posts | Concrete piers or posts set below the frost line | Larger sheds, frost-prone areas, slopes |
| Concrete slab | A poured slab that is also the floor | Workshops and heavy equipment |
Whatever you choose, use lumber rated for ground contact for skids and anything near the soil, and keep untreated siding at least 6 inches above the ground.
Step 5: understand the framing
A shed is a small house frame. Once you understand the four parts, any shed plan makes sense:
- Floor frame. Joists, usually 2×6, spaced 16 inches on center (O.C.) and covered with ¾" exterior plywood or tongue-and-groove sheathing.
- Walls. 2×4 studs at 16 or 24 inches O.C. between a bottom plate and a doubled top plate. Openings for doors and windows get headers to carry the load.
- Roof. Rafters or trusses that meet at a ridge on a gable shed. The pitch is written as rise over 12 inches of run, such as 4:12 or 6:12.
- Sheathing and bracing. Plywood or OSB on the walls and roof keeps the frame square and stiff.
Square it early. Measure both diagonals of the floor frame before you nail the deck down. When they match, the frame is square, and every wall and rafter after that will fit better.
Step 6: roofing, siding, doors and windows
- Roofing. Asphalt shingles are common and affordable. Manufacturers and the IRC generally call for a slope of at least 4:12, or 2:12 with extra underlayment, so check your plan’s pitch. Metal panels suit lower slopes and shed snow well.
- Drip edge and underlayment protect the roof edges and deck from water. Don’t skip them.
- Siding. Engineered panel siding is fast; board-and-batten or lap siding looks more traditional. Prime and paint or stain all sides, including cut ends.
- Doors. Make the door wider than the biggest thing you’ll store. A ramp makes mowers and wheelbarrows easy.
- Ventilation. Soffit and gable vents reduce condensation, which keeps tools from rusting.

Step 7: build a materials list
A complete shed plan should include a full materials list. If yours doesn’t, build one before you shop, grouped by stage:
- Foundation: gravel, landscape fabric, ground-contact skids or blocks.
- Floor: joists, rim boards, joist hangers, floor sheathing.
- Walls: studs, plates, headers, wall sheathing or panel siding.
- Roof: rafters or trusses, ridge board, roof sheathing, drip edge, underlayment, shingles or panels.
- Finish: trim, door hardware, hinges, windows, paint or stain, caulk.
- Fasteners: structural screws or nails rated for treated lumber, roofing nails, construction adhesive.
Costs vary a lot by region and season, so price your list at two local suppliers and add 10% for waste and mistakes.
A realistic weekend timeline
An 8 × 10 shed is rarely a one-weekend job for a first-timer. A more honest plan looks like this: weekend one for the site and foundation, weekend two for the floor and walls, weekend three for the roof, and weekend four for siding, trim, door and paint. Ask a friend to help on wall-raising and roof days. Some steps simply need two people.
Want ready-made plans with cut lists? TedsWoodworking says its library holds 16,000 plans (the vendor’s count), sold for US$67 one-time when we checked on Nov 15, 2026, with a 60-day refund. Read our honest review first, or see the plans on the vendor’s site.
Affiliate link: we may earn a commission at no extra cost to you. Disclosure
Shed mistakes to avoid
- Skipping the rules check and having to move or remove a finished shed.
- A base that isn’t level, which makes walls racked and doors that never close properly.
- Untreated wood touching the ground, which can rot quickly.
- A door that’s too narrow for what you actually need to store.
- No overhang or drip edge, so rain runs down the siding.
- Starting without a complete plan, then improvising the roof halfway through.
What a good shed plan includes
Before you commit to a plan, free or paid, check that it has: a floor plan and elevations with dimensions, a foundation detail, wall framing drawings with door and window openings, rafter or truss details with the pitch and cut angles, a full materials list and step-by-step instructions. If you’re new to reading these drawings, our guide to reading woodworking plans explains each part, and our tool guide covers what you’ll need.
Not ready for a full shed yet? A small lean-to tool box or a planter from our beginner projects list teaches the same skills at a smaller scale.
Keep reading

10 easy woodworking projects for beginners
Weekend-sized builds that teach one skill at a time.
Types of wood for woodworking: what to use and when
Pine, poplar, oak, maple, cedar and plywood compared.
Woodworking joints for beginners: 9 joints explained
Butt to dovetail, with diagrams and the tools for each.